
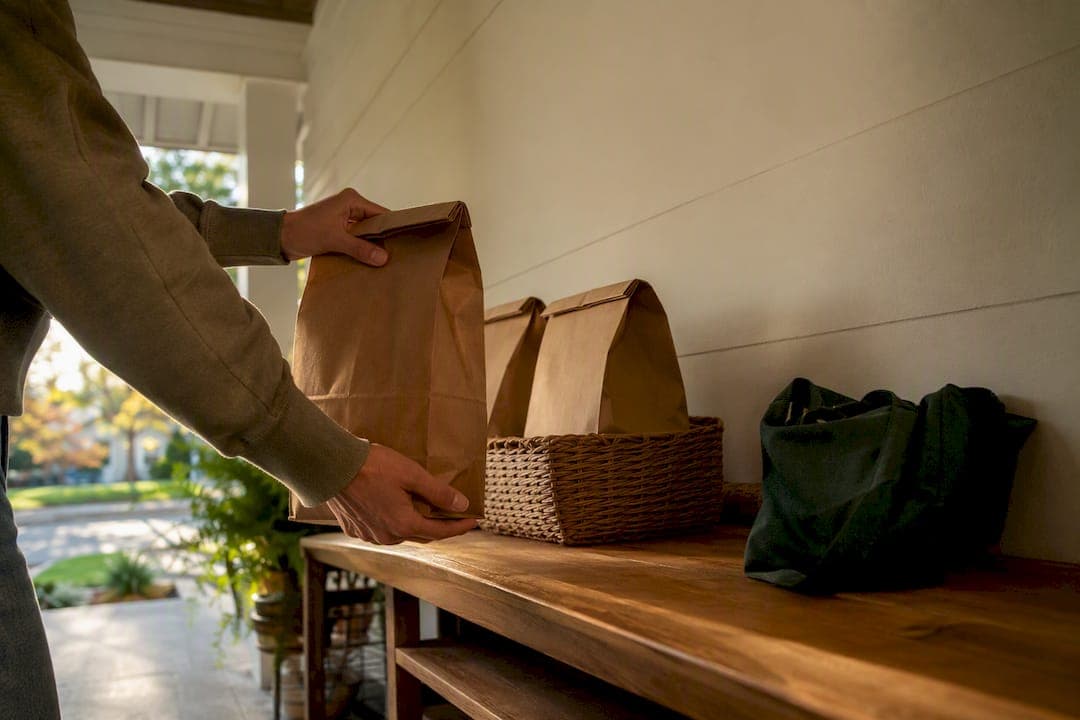
Launch day comes down to five things: publish listings that match what you actually have on hand, set pickup or delivery windows, turn on payment processing, run one test order before you open, and text or email your existing buyers the moment you go live. Get those five right and everything else on this checklist is just polish. The next move after that is simple: publish, then notify.
TL;DR:
- Completing your profile and verification, adding accurate product listings, and setting clear fulfillment policies are essential before launch to build trust and avoid surprises.
- Accurate, truthful listings with minimal photos, clear packaging, and labels prevent buyer confusion and reduce pickup errors during operations.
- Turning on prepayment and defining strict pickup windows plus no-show policies significantly decrease no-shows and streamline the fulfillment process.
- Immediate promotion with targeted messages to existing buyers and local signage efficiently generates first orders, with trust signals improving response rates.
- Consistently updating your weekly availability and fixing operational issues early on foster long-term buyer trust and encourage repeat business.
Table of Contents
- Pre-Launch Checklist: What to Finish Before You Publish
- How to Write Listings That Convert Without Creating Confusion
- Photos and Packaging That Prevent Pickup Mix-Ups
- Setting Up Payments and a Fulfillment Flow That Actually Works
- Launch Day Promotion: Getting Your First Orders In
- Day-Of Operations: From Test Order to Pickup
- What to Do in the First Two Weeks After Launch
- A Producer-First View on What Actually Matters at Launch
- Ready to Open Your Farm Stand? Here's the Fast Path
- Sources
Pre-Launch Checklist: What to Finish Before You Publish
Nothing kills trust faster than a farm stand that looks abandoned or promises things you can't deliver. Before you flip the switch on Harvest Hub, get the boring stuff locked down.
Start with your profile. Fill in every field Harvest Hub asks for, complete any verification steps, and add a real contact method and pickup address. Buyers want to know who they're dealing with before they hand over money for a dozen eggs or a loaf of sourdough.
Next, decide what actually goes live. Pick a manageable set of products, count your real quantities, and write a simple price list. A step-by-step approach to farm profiles recommends keeping this list short at first and expanding once you see what sells.
Then lock in fulfillment. Choose pickup, market pickup, local delivery, or some mix, and set firm order cutoffs along with a no-show policy. Prepping your farm's fulfillment plan in advance makes the difference between a smooth first week and a chaotic one.
- Complete your Harvest Hub profile and verification steps
- Add a pickup address and working contact info
- Finalize a short product list with real quantities
- Set fulfillment method, order cutoffs, and a no-show policy
- Check any local labeling or scale-based regulations for your product type
Pro Tip: Don't wait for a "finished" storefront. A basic profile with three or four accurate listings beats a beautiful one that's still in draft two weeks from now.
How to Write Listings That Convert Without Creating Confusion
Good listings do one job: set expectations so precisely that nobody's surprised at pickup. Here's the order to build them in.
- Write a clear title and one-line summary. "Pasture-Raised Eggs, Dozen" beats "Farm Fresh Eggs!!" every time, because it tells buyers exactly what they're getting.
- State exact sizes, counts, or portions. If your zucchini haul varies week to week, say so. Seasonal swings aren't a problem when buyers know to expect them.
- Set pricing and packaging clearly. Note minimum order sizes if you need them to make a pickup worthwhile.
- Tag fulfillment notes and commit to an update schedule. Weekly is the recommended rhythm for produce sellers, and it keeps your inventory numbers honest.
Look at a live example like Happy Farmers Market for how a filled-out profile actually reads to a buyer. The goal isn't a perfect product page. It's a truthful one that never makes someone drive out for something you don't have.
Photos and Packaging That Prevent Pickup Mix-Ups
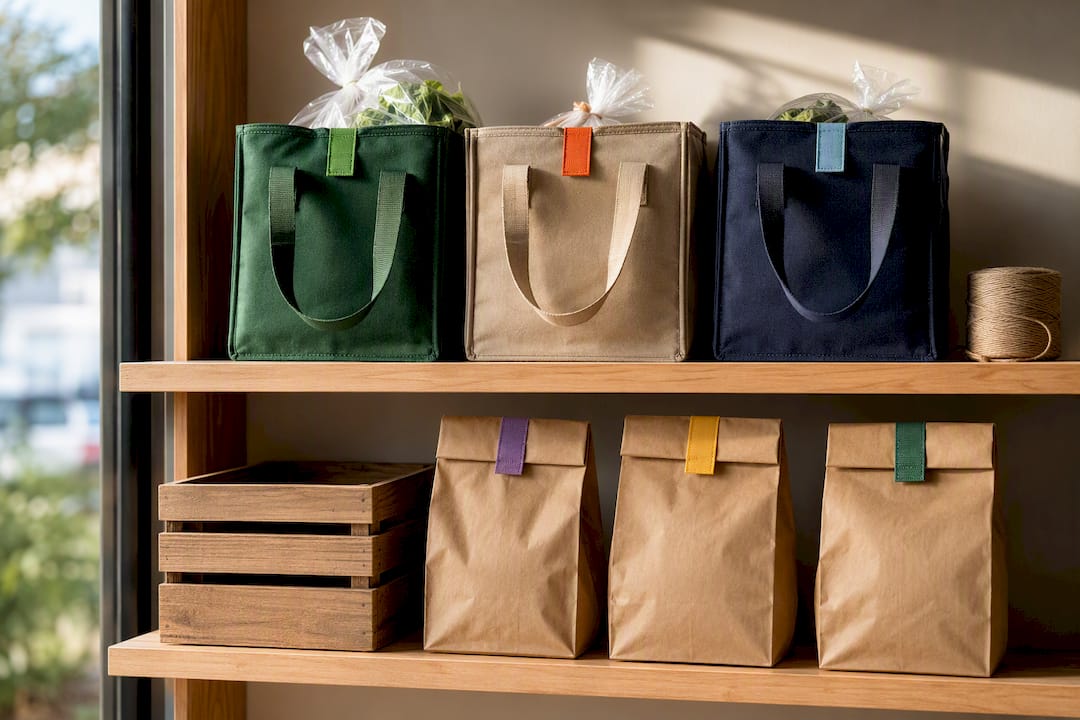
You don't need a professional camera. You need two photos per listing: one close-up showing the actual product, one wider shot of it fresh from the field or the oven. Natural light beats any ring light you'll buy.
Packaging matters more than people expect. Labeling every order with the buyer's name, item list, and pickup window prevents the classic mix-up where two orders of tomatoes swap hands. Use simple, sturdy containers for anything fragile.
- Two photos minimum: close-up plus context shot
- Labels on every order: name, contents, pickup time
- A dedicated staging spot near your pickup area
- A quick packing checklist to catch mistakes before they walk out the door
Pro Tip: Stage orders in the sequence buyers will arrive, not alphabetically. It sounds small, but it cuts handoff time in half during a busy pickup window.
Setting Up Payments and a Fulfillment Flow That Actually Works
Turn on a stable payment processor before you publish anything, and lean toward requiring prepayment. It sounds strict, but prepayment is what actually cuts down on no-shows, which are the single biggest time waster on launch day.
Pin down your pickup windows and write an explicit late or no-show policy. Buyers respect clear rules more than vague flexibility.
From there, build a repeatable flow: harvest or bake to the order, pack it, label it, and stage it by pickup time. This is the same weekly rhythm behind most successful small-farm online sales: order, close, harvest, pack, pickup, repeat.
- Enable payment processing and default to prepayment
- Write a no-show and late-pickup policy before launch day
- Build a pack-to-stage checklist you can reuse every week
- Plan one fallback, like substitutions or partial refunds, for when inventory runs short
Launch Day Promotion: Getting Your First Orders In
Your existing customers are your fastest path to first orders. Text or email them a short, direct message with your storefront link the morning you go live. No need for a paragraph. Just tell them you're open.
- Notify existing buyers first, by text or email, with a one-line message and your link.
- Put QR codes on physical signage at your market booth or farm stand, and update your social bios with the storefront link. QR codes at a market stand reliably turn foot traffic into online orders.
- Post a short announcement on whatever social platform you already use, the same morning you publish.
- Send one reminder the day before pickup, and mention your verified profile and reviews if you have them. Trust signals matter more from a stranger's screen than they do at an in-person stand.
Pro Tip: Skip the multi-platform blitz. One clear post to people who already know you outperforms five posts to strangers who don't.
Day-Of Operations: From Test Order to Pickup
Run through the whole process once before you open for real. Here's the sequence that catches problems before customers do.
- Place one test order yourself. Confirm payment goes through and the pickup instructions actually make sense.
- Pack-to-stage every order as it comes in. Harvest or prepare, pack, label, and stage by name and pickup time.
- Assign one person to check-in. Give them a short script: confirm the name, hand off the order, done.
- Write down what goes wrong. Fix what you can same-day. Save the rest for next week's adjustments.
That last step matters more than most producers expect. Launch day is never perfect. It's just the first data point.
What to Do in the First Two Weeks After Launch
The two weeks after launch decide whether first-time buyers become regulars. Send a quick thank-you and one-question survey within 48 hours of pickup. It takes five minutes and tells you exactly what to fix.
Update your availability on a fixed weekly schedule, and close orders at the same time each week so buyers learn your rhythm instead of guessing at it.
- Send a thank-you note and short survey within 48 hours
- Update availability weekly, on the same day and time
- Turn on restock notifications and ask happy buyers for a review
- Look into early-access premium features once repeat orders start coming in
A Producer-First View on What Actually Matters at Launch
Most producers spend their prep time perfecting photos or agonizing over a description when the real lever is simpler: update your availability every single week. Consistent updates build more trust than a polished storefront ever will, because buyers are watching for whether you're actually paying attention, not whether your fonts match.
If you want a head start on setup and restocking, the restock notification guide and the sourdough launch walkthrough cover both in plain steps. And if you're still deciding whether to bother with early access, do it. Visibility features help most once you've already got a few sales behind you.
— Sheldon
Ready to Open Your Farm Stand? Here's the Fast Path
This platform is built for exactly this moment: getting a farm stand online without a web developer, a marketing budget, or weeks of setup. Compare that to building your own site or managing orders through scattered texts and spreadsheets, and the difference is speed. Many producers can have a working profile ready quickly, often within a few days.
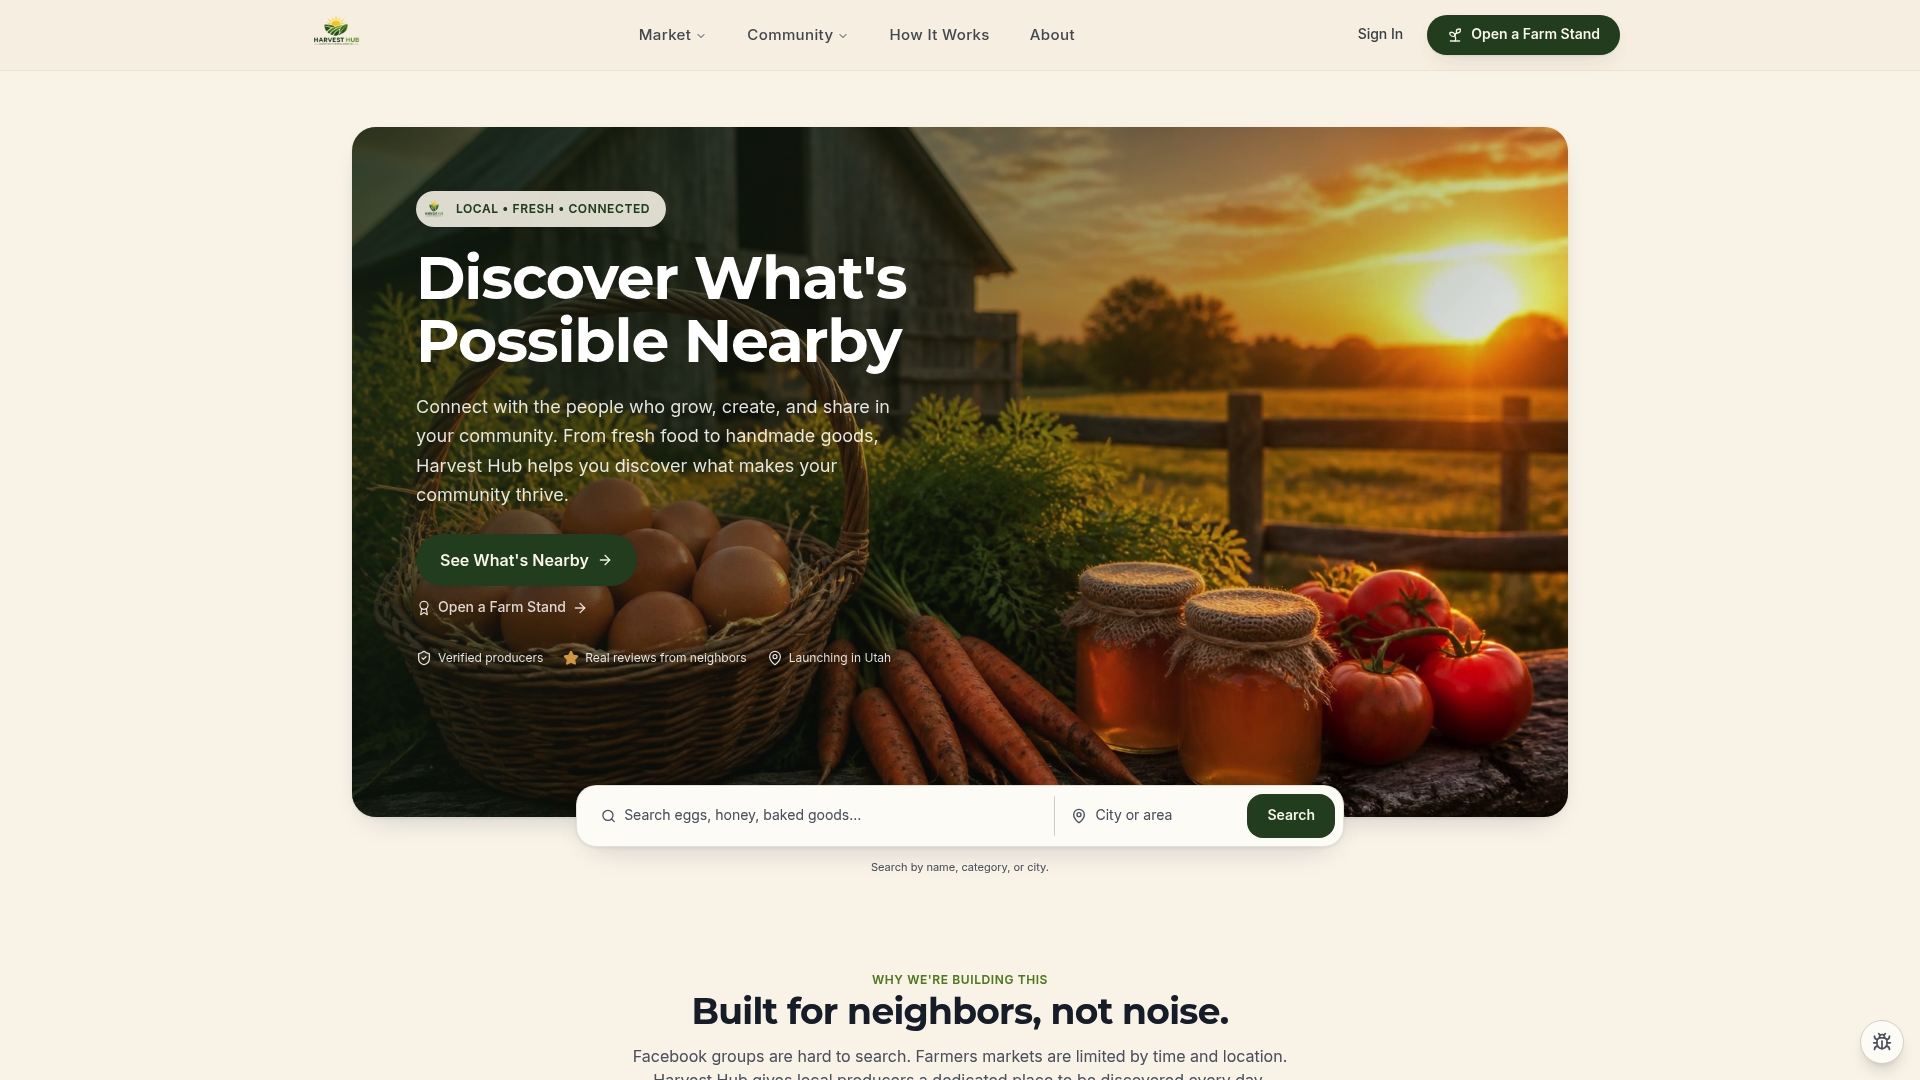
Start by creating your profile, adding three to five listings with real prices, setting your pickup or delivery window, and publishing. Then send that one text to your existing buyers. Look at working examples like Moon Farms Country Market or FarmBox SF to see how a finished profile actually looks before you build yours.
If you want premium visibility tools once your farm stand is live, the early-access program is worth applying for. Head to Harvest Hub now and get your first listing published today.
Sources
- Why changing times in retail and online commerce demand consistency — Advertising Week
- How to prep your farm's e-commerce for guaranteed sales — Local Line blog
- Sell farm products online without a huge tech stack — CollectiveCrop